Outdoor Kitchen Planning Checklist (Before You Build Anything)
Designing an outdoor kitchen is exciting.
Designing one without a plan is how you end up halfway through a project wondering why there’s no outlet, nowhere to prep, and your grill is fighting the wind every night.
Before you pick finishes, appliances, or even a layout, run through this checklist. It’ll save you time, money, and at least a few headaches.

1. What Are You Actually Going to Use This For?
Start here, not with Pinterest.
Be honest:
Weeknight dinners or just occasional hosting?
Full meals or mostly drinks and appetizers?
Cooking solo or with people gathered around?
This determines everything—layout, appliances, and how much space you really need.
2. Pick Your Location Carefully
Not all parts of your backyard are created equal.
Look at:
Proximity to the house (closer = easier, farther = more of a destination)
Wind direction (nothing like smoke blowing straight into your face)
Sun exposure (midday heat is real)
Views (you’ll be staring at this spot while cooking—make it count)
A good location makes the kitchen feel natural. A bad one makes it feel like an afterthought.
3. Plan Your Layout Before Anything Else
Layout is what makes or breaks the entire setup.
You don’t need anything complicated—just something that flows:
Prep → cook → serve
Enough counter space to actually work
Room for people to move around you
If the layout doesn’t make sense on paper, it won’t magically fix itself once it’s built.
4. Choose Appliances Based on Reality, Not Fantasy
It’s easy to overbuild here.
Ask yourself:
Do you actually want a pizza oven, or does it just sound fun?
Are you going to use a side burner regularly?
Is a built-in grill worth it for how often you cook?
There’s no “right” setup—just the one you’ll actually use.
5. Think Through Utilities Early
This is where a lot of projects hit a wall.
Depending on your setup, you may need:
Gas (natural gas line or propane)
Electric (for lighting, appliances, outlets)
Water (if adding a sink)
Drainage
Even if you’re keeping it simple, plan ahead so you’re not retrofitting later.
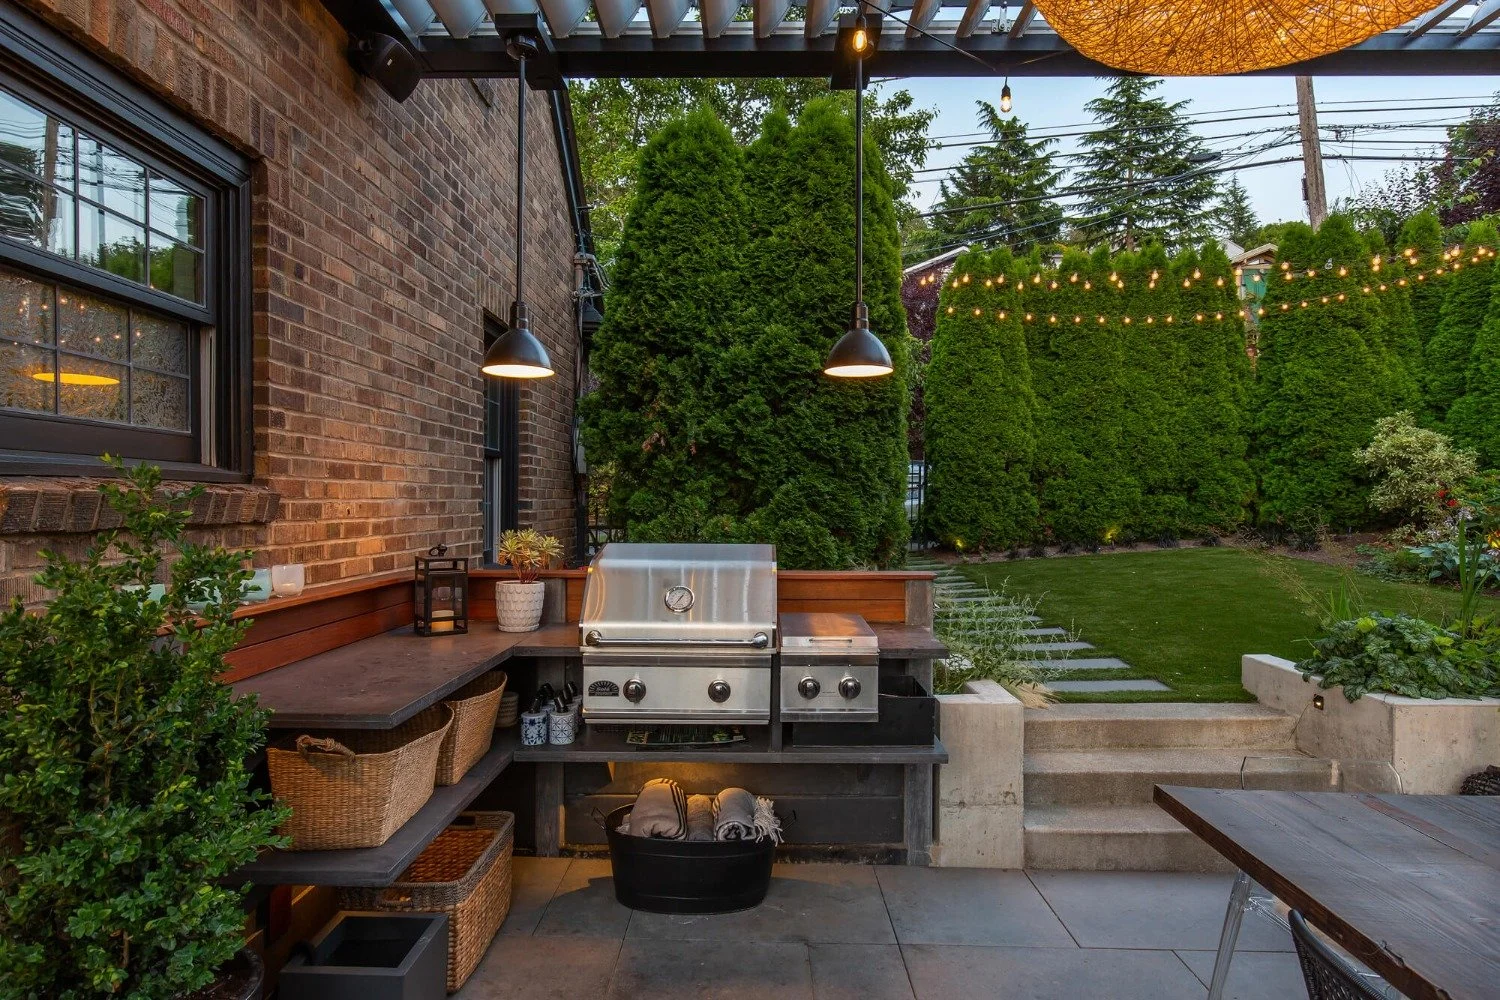
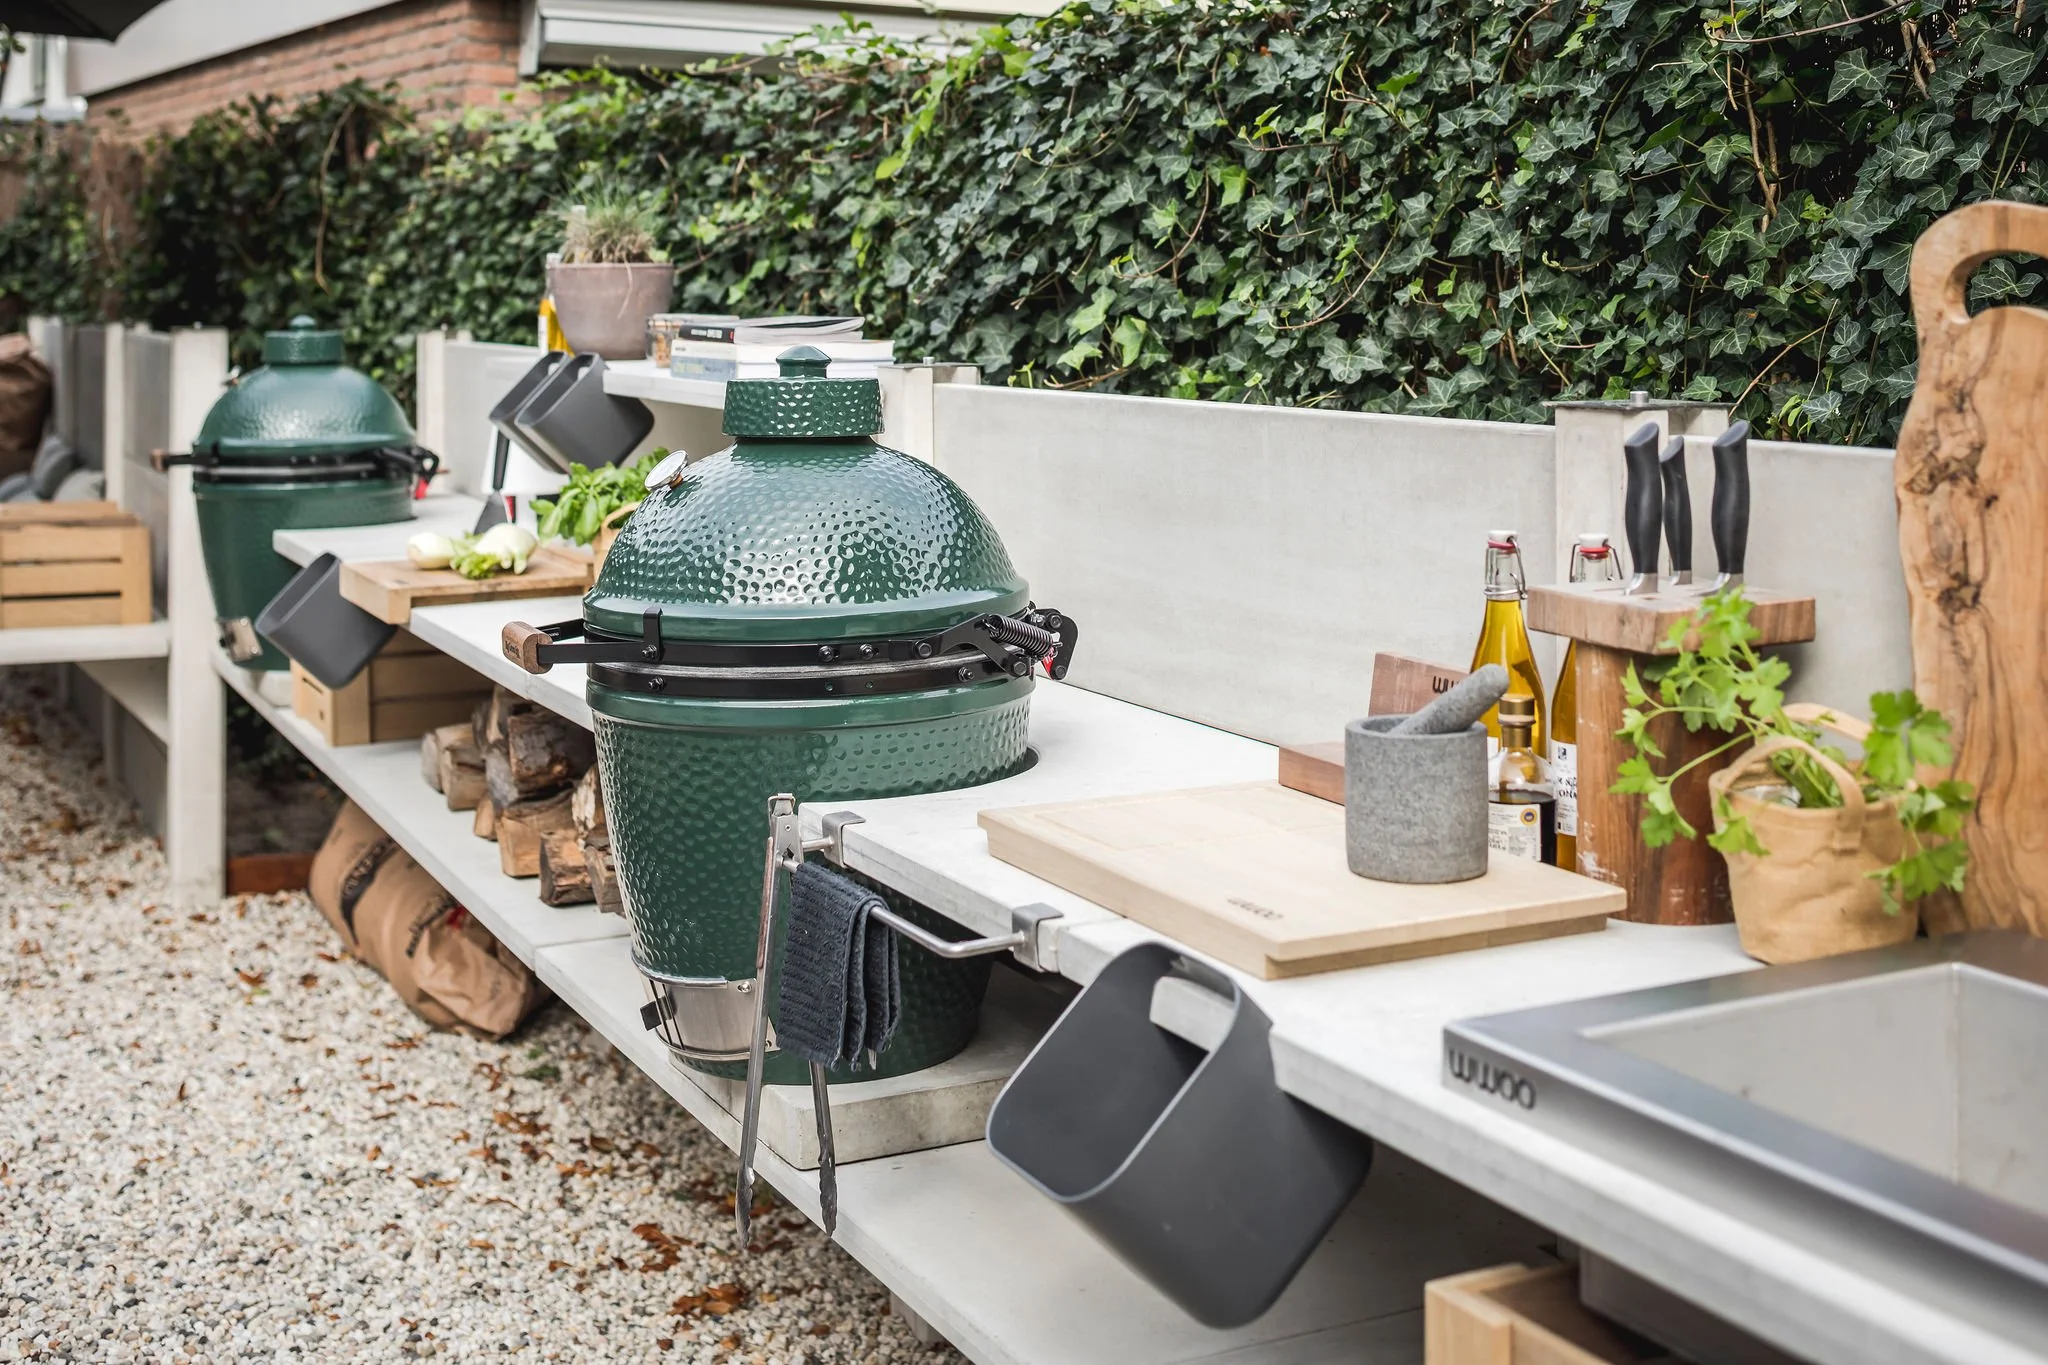
6. Don’t Underestimate Counter Space
This is the most common regret.
You’ll need space for:
prepping food
setting down trays
serving guests
holding tools and drinks
A solid rule of thumb:
24–36 inches next to key appliances
At least 3 feet of usable prep space overall
More if you plan to host.
Roy Altaras Designs
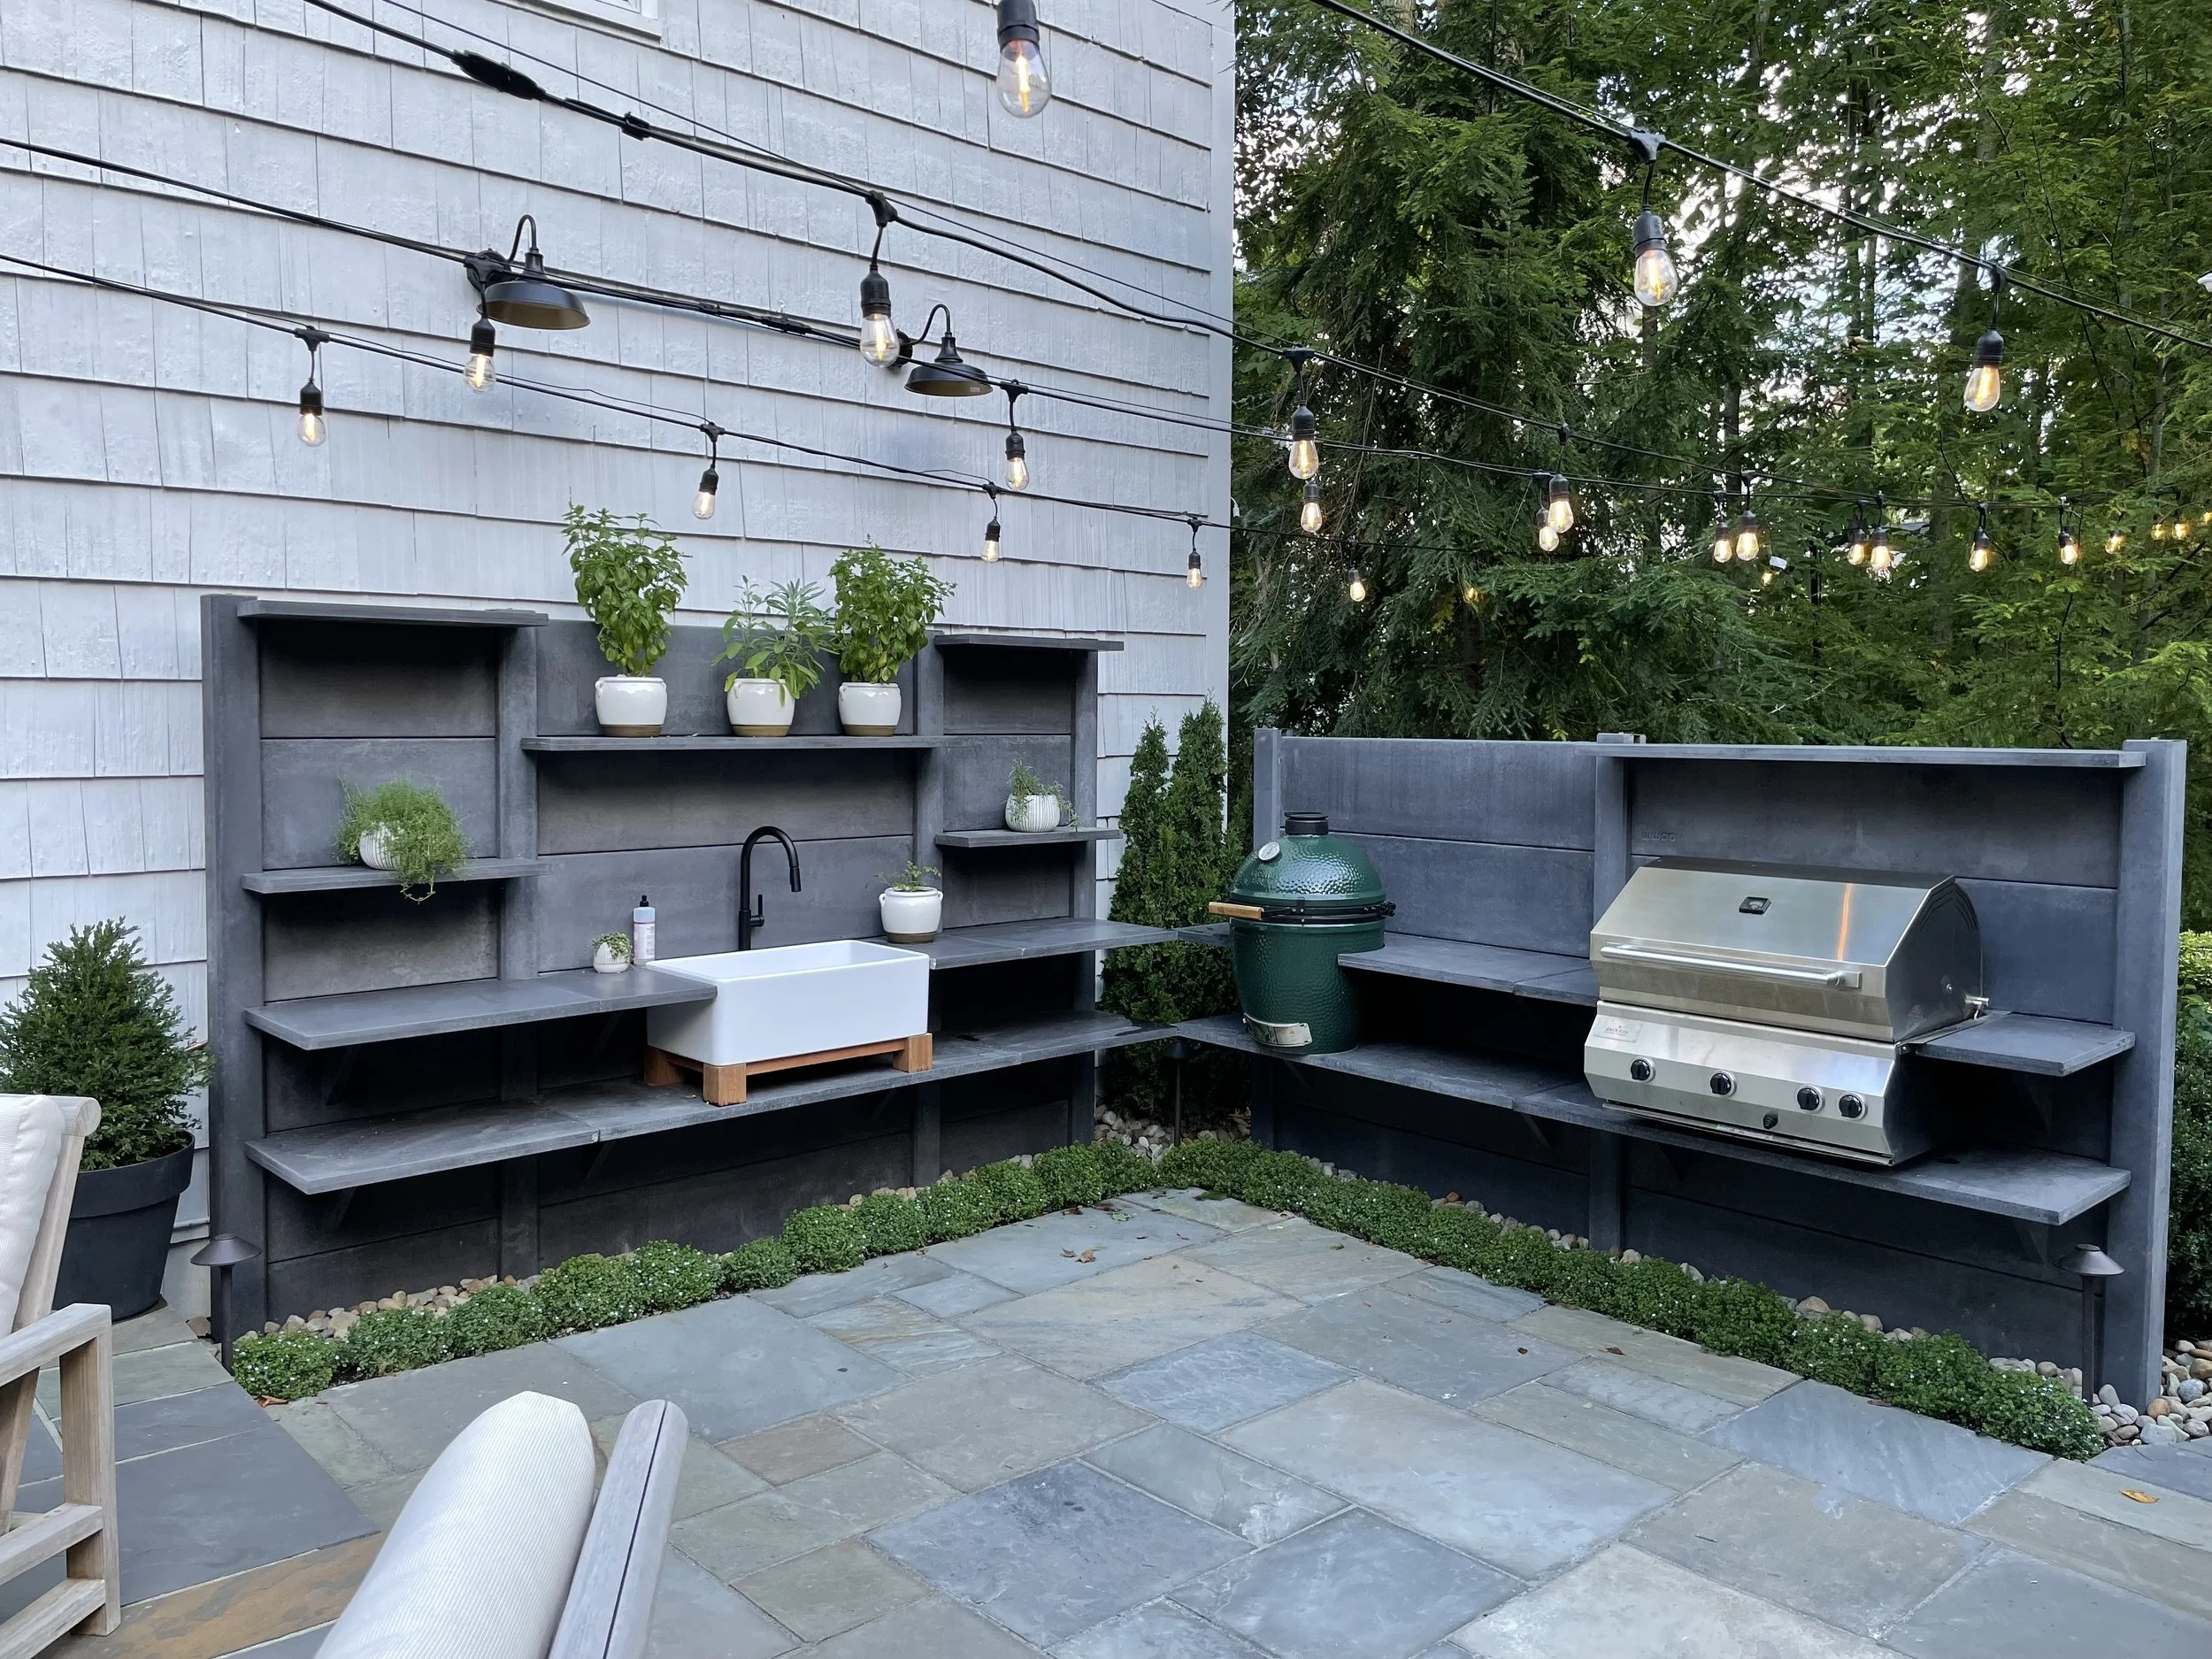
7. Rethink Storage
Outdoor kitchen storage sounds like a great idea—until you actually try to use it.
Here’s the reality:
anything you leave outside is going to get dirty.
Dust, moisture, bugs, grease from cooking—it all finds its way in eventually. So ask yourself:
What can I realistically keep in an outdoor drawer or cabinet that I won’t have to wash before using?
The honest answer is: not much.
Which is why built-in storage is often overrated.
Less storage, less maintenance, fewer surprises when you open a drawer.
8. Consider How People Will Gather
Outdoor kitchens aren’t just for cooking—they’re for hanging out.
Ask:
Will people stand around the kitchen?
Do you want bar seating?
Is there a nearby dining area?
The goal is to keep the cook part of the conversation, not stuck working in a corner.
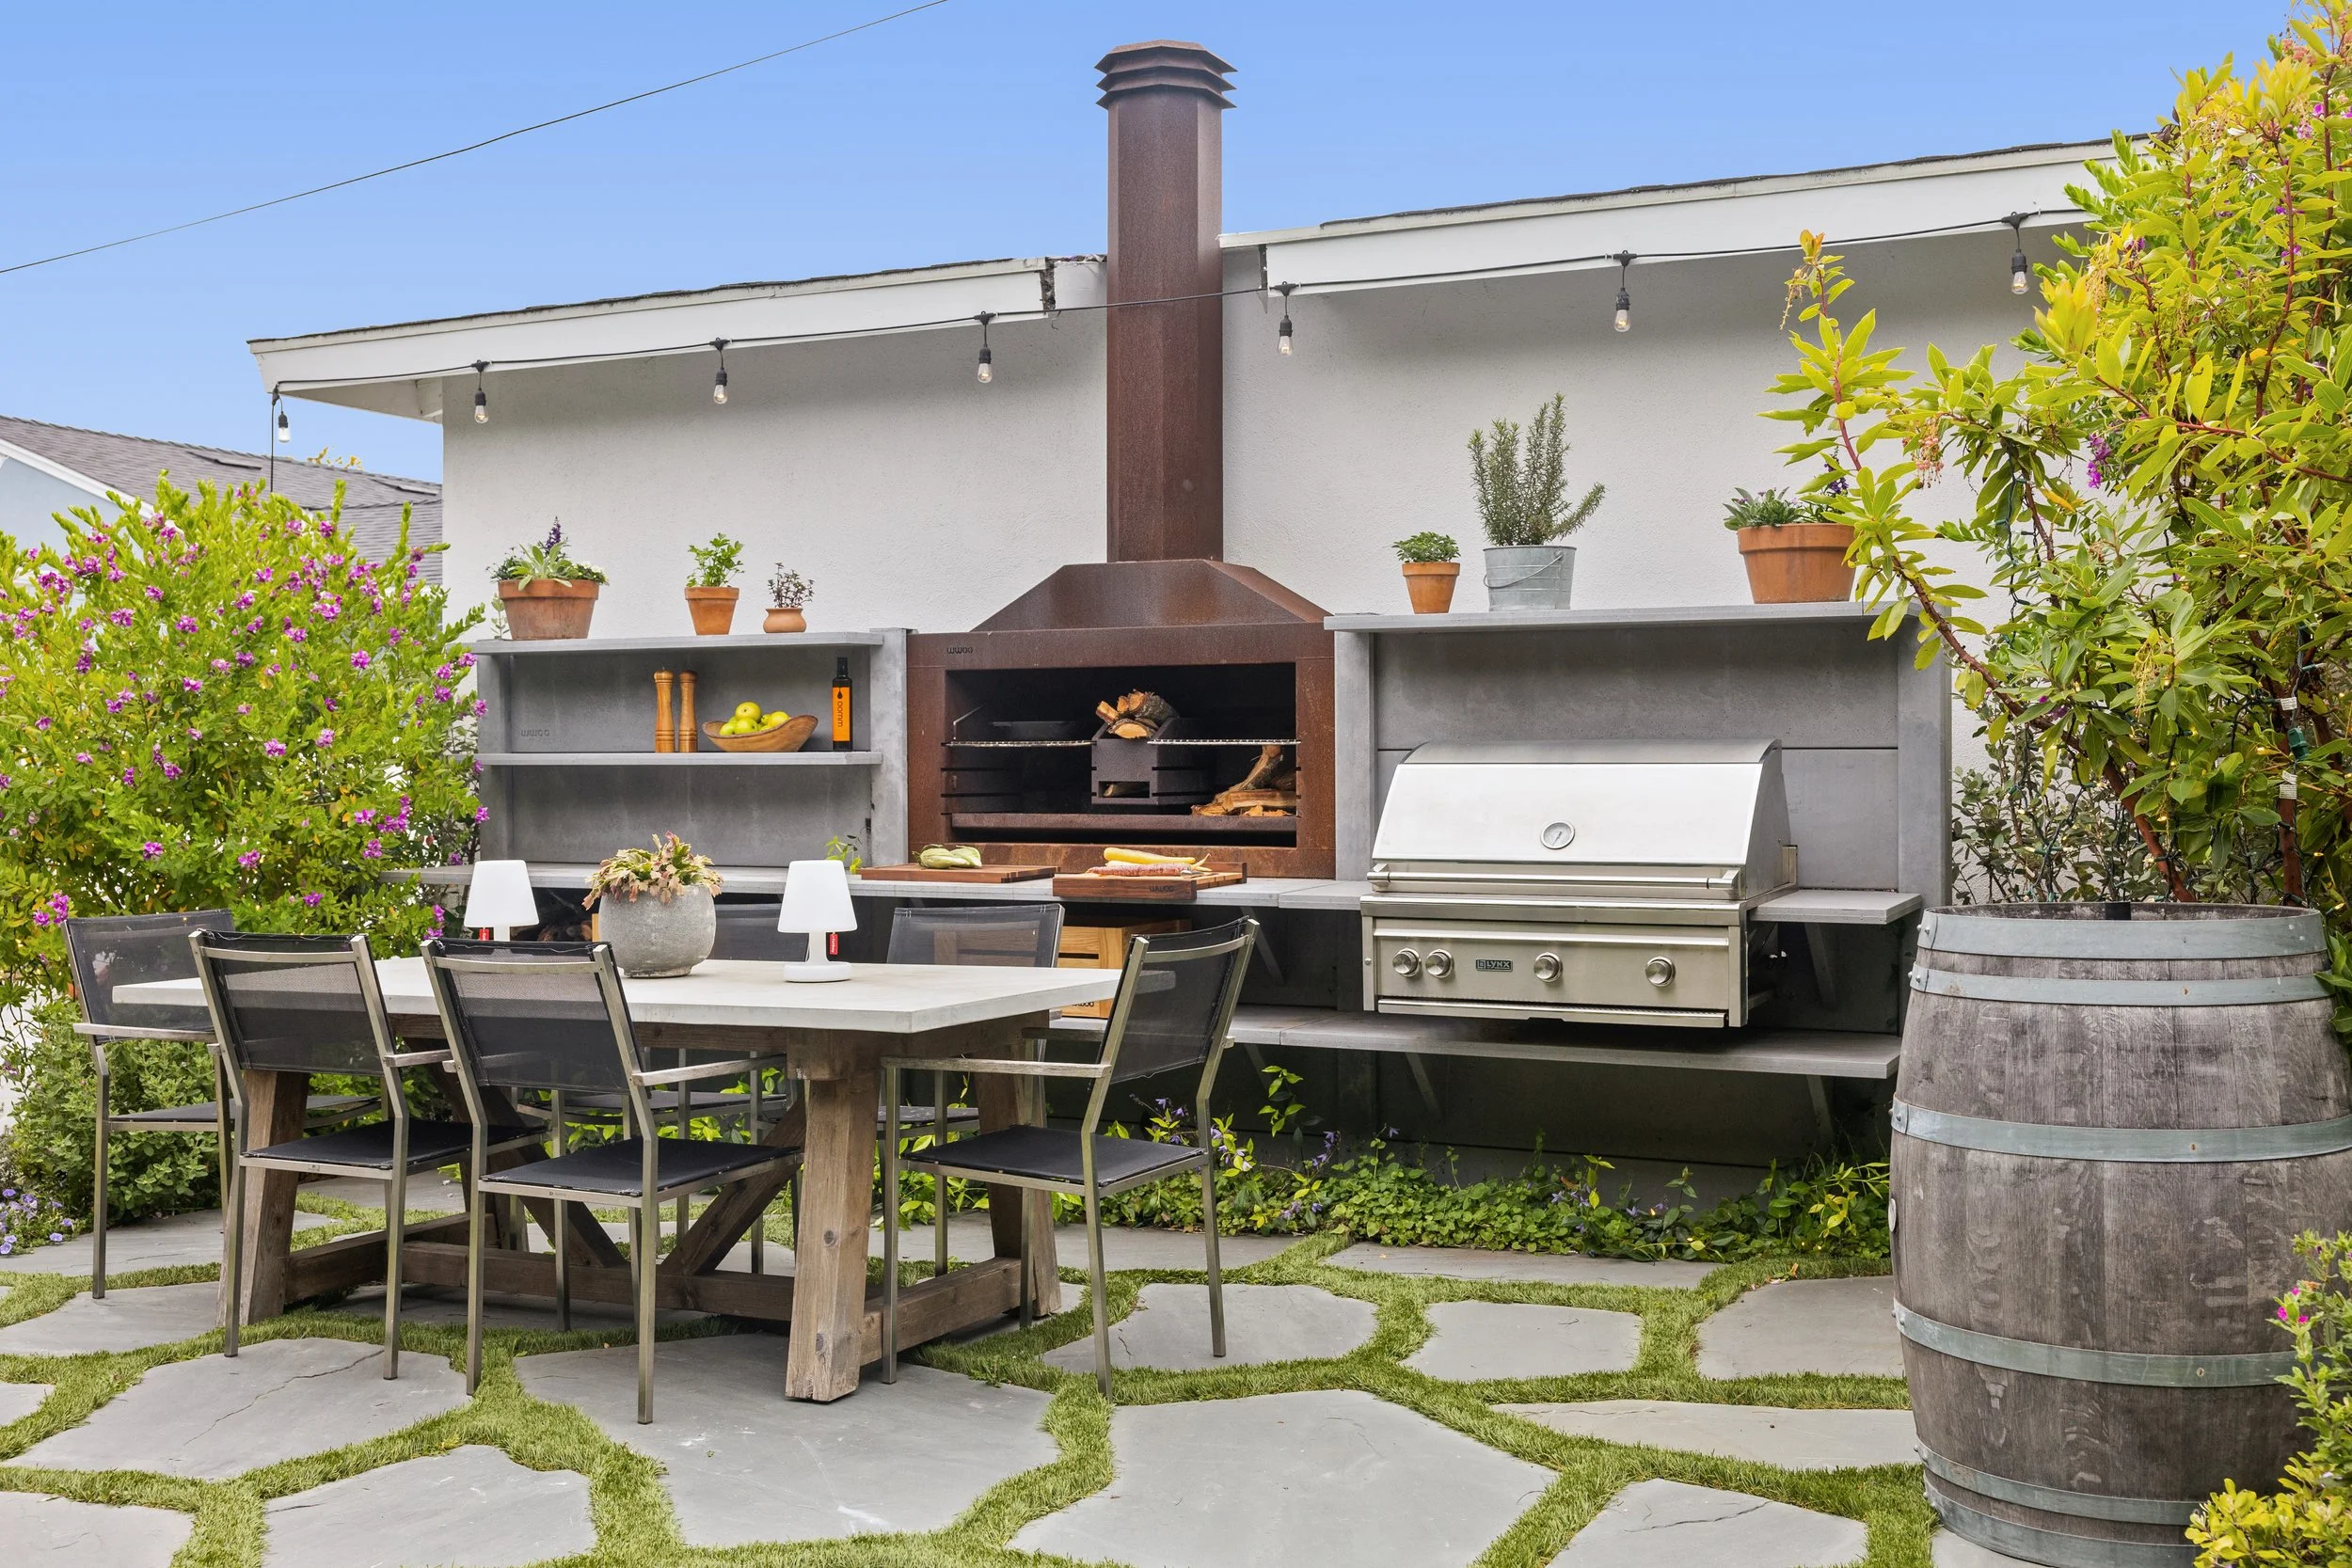
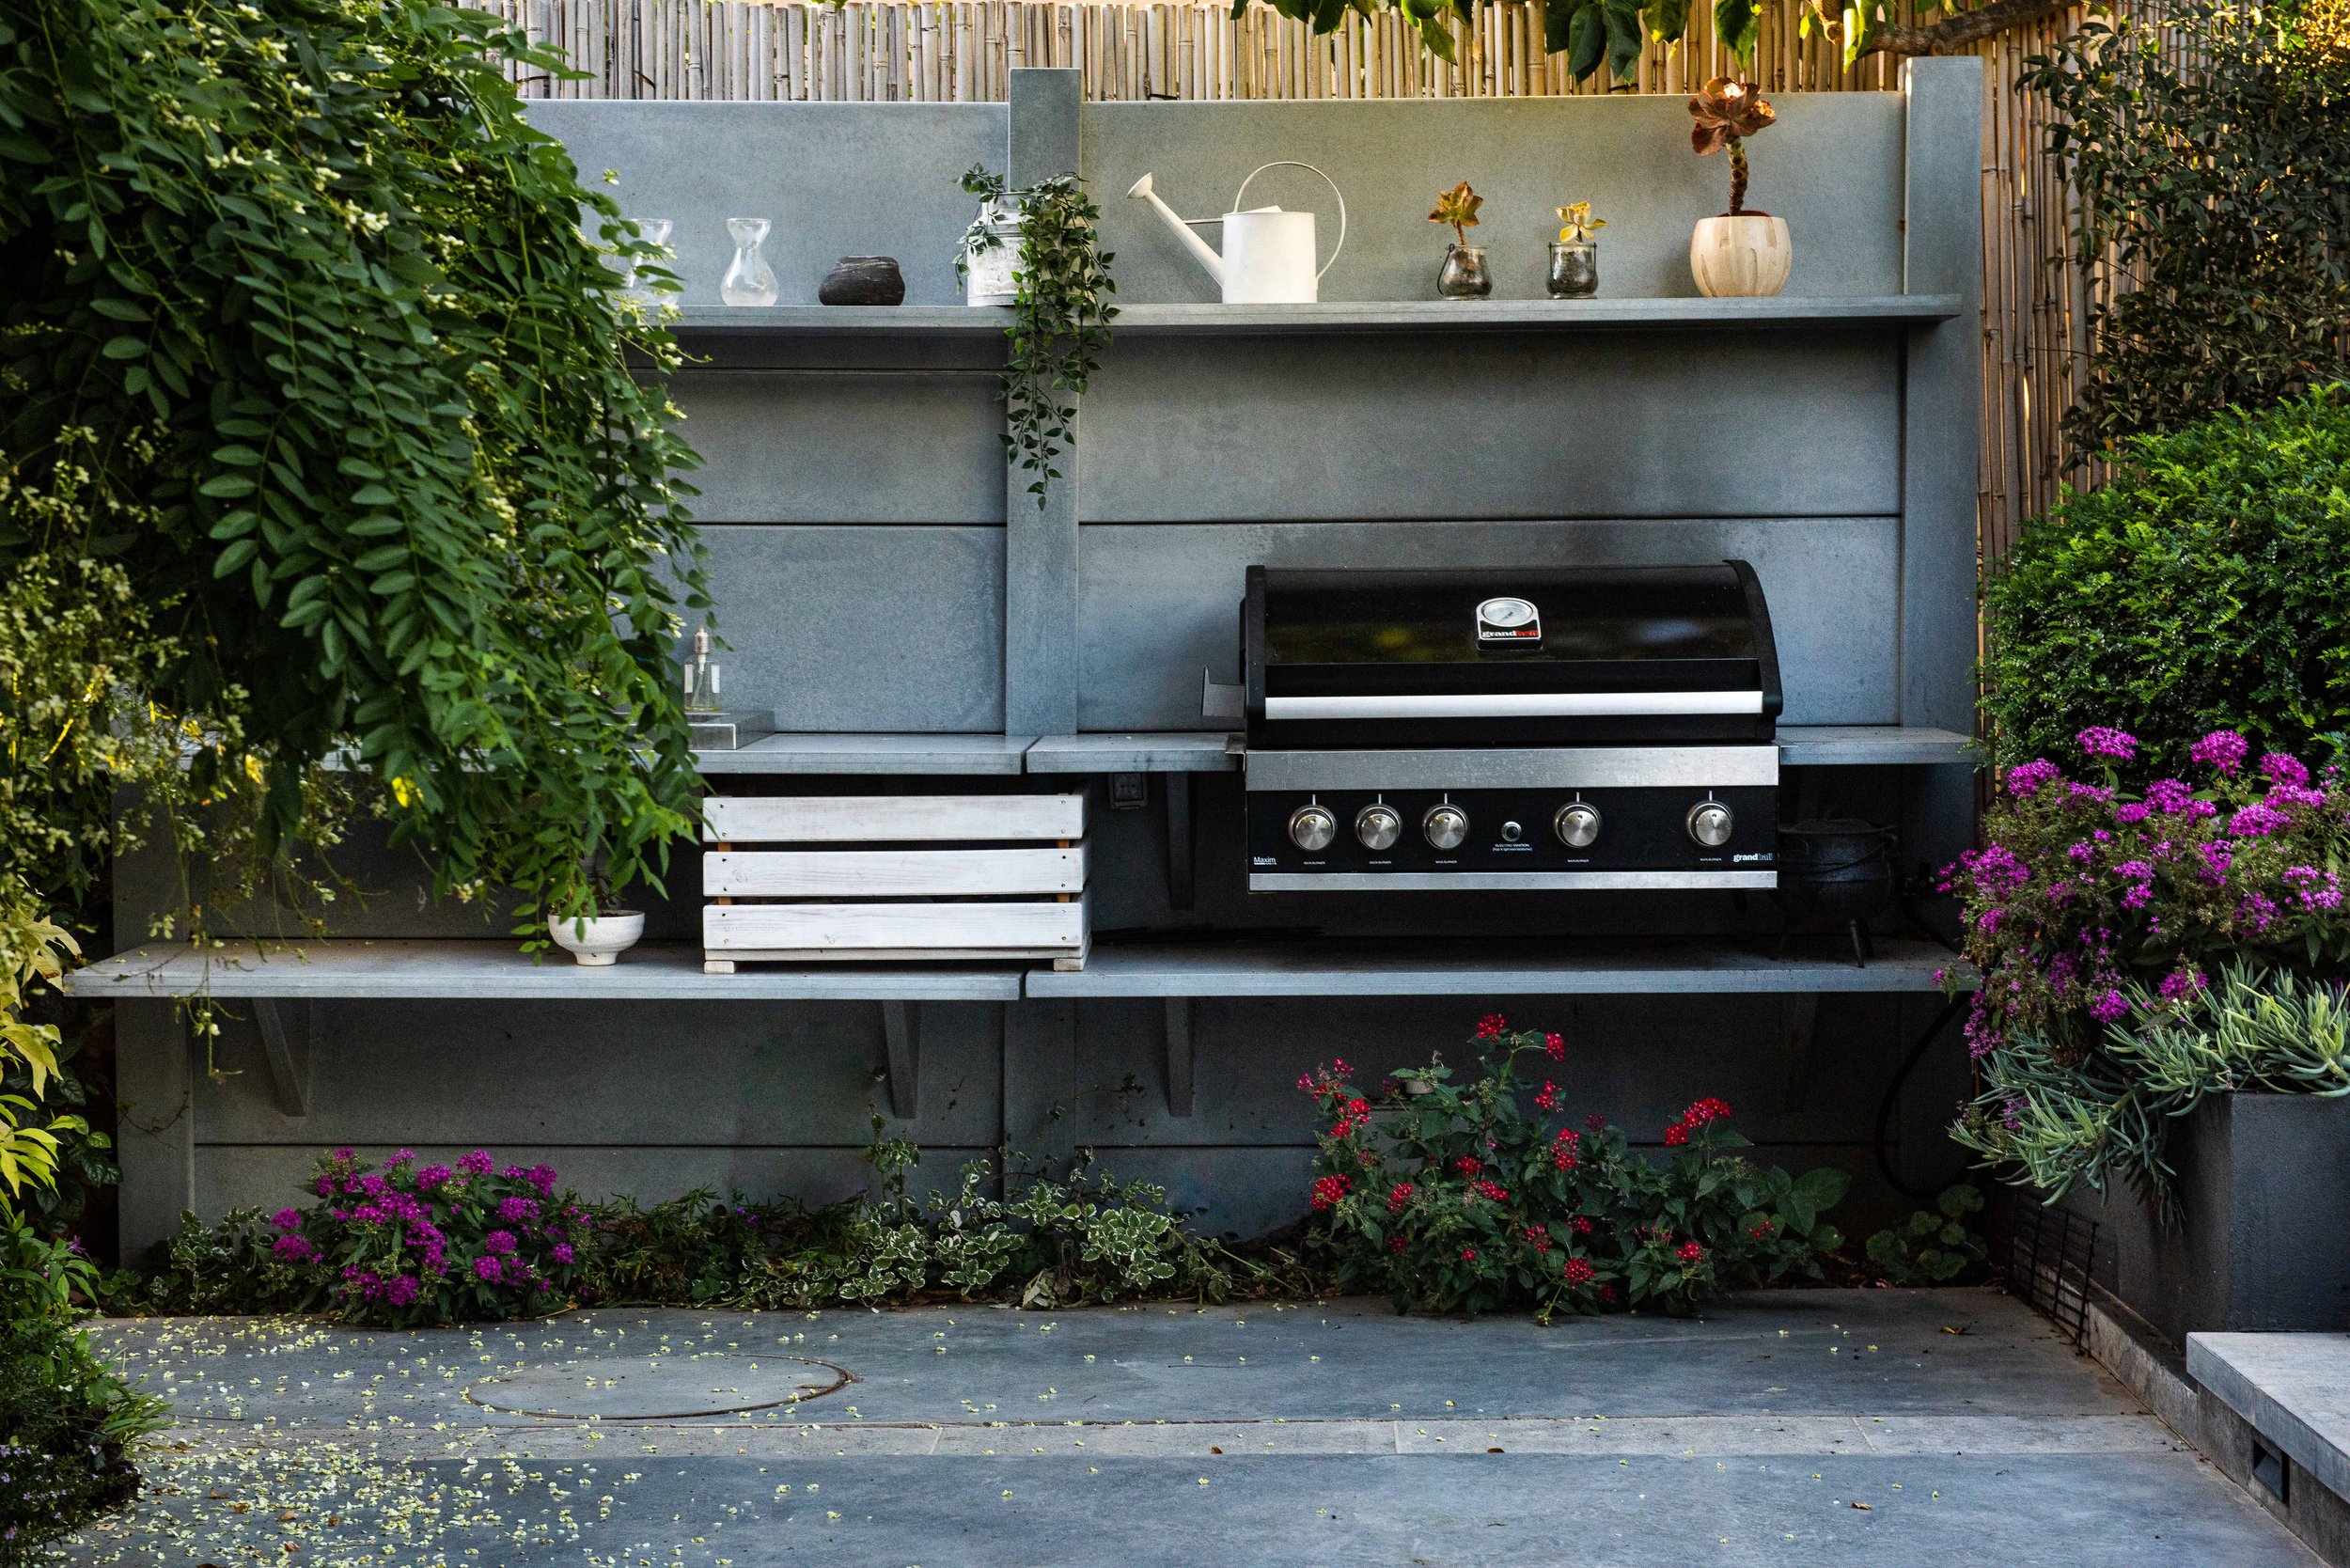
9. Choose Materials That Can Handle the Outdoors
Looks matter—but durability matters more.
Concrete is one of the most resilient options out there. It doesn’t rust, won’t warp, and holds up in coastal environments where other materials start to break down fast. It’s also low maintenance, which matters more over time than people think.
Then there’s stainless steel - which sounds simple, but isn’t.
Not all stainless is created equal:
304 stainless steel is common and works well in mild climates
316 stainless steel is more corrosion-resistant and better suited for coastal areas
316L (often called surgical stainless steel) takes it a step further, with even better resistance to rust and harsh environments
If you’re near the ocean, this matters. A lot.
Lower-grade stainless might look great at first, but it can start to show wear, discoloration, or corrosion sooner than expected.
The takeaway:
choose materials based on where you live and how you’ll use the space—not just how something looks on day one.
Because outdoors, everything ages. The goal is to choose materials that age well
10. Have a Realistic Budget (With a Buffer)
Outdoor kitchens can scale quickly.
And one of the biggest mistakes people make is going in with no real sense of what things cost—then having to make compromises halfway through.
Here’s a general guideline to help set expectations:
Small outdoor kitchen(10–12 feet, 1–2 appliances)
→ Budget around $10,000–$15,000Medium outdoor kitchen(15–20 feet, 3–4 appliances)
→ Budget around $20,000–$25,000Large outdoor kitchen(full setup, multiple appliances, all the extras)
→ Budget around $30,000–$40,000+
These ranges can shift depending on:
materials
appliance selection
site conditions
and whether utilities need to be added or extended
Also worth noting: appliances alone can take up a big portion of your budget, especially if you go high-end.
The key is to prioritize what matters most to you before you start. It’s a lot easier to plan intentionally than to cut things later.
And whatever number you land on—give yourself a little buffer.
Because something always comes up.